Use Helios’ Planning Board to organize your shop’s workload with precision and ease.
Overview
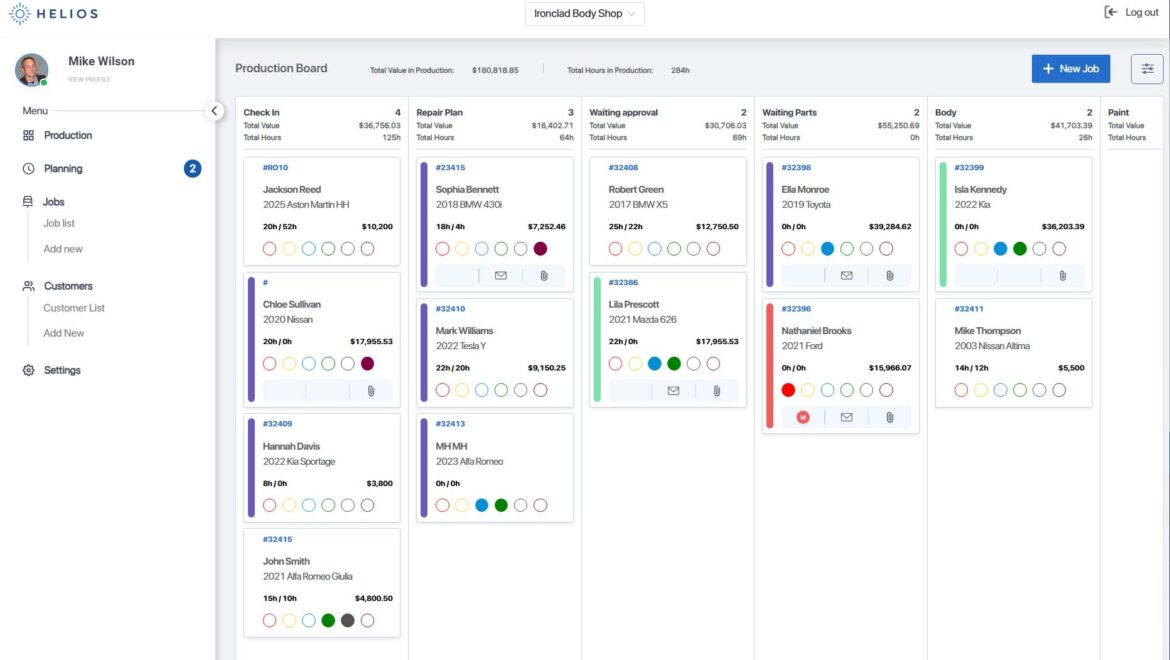
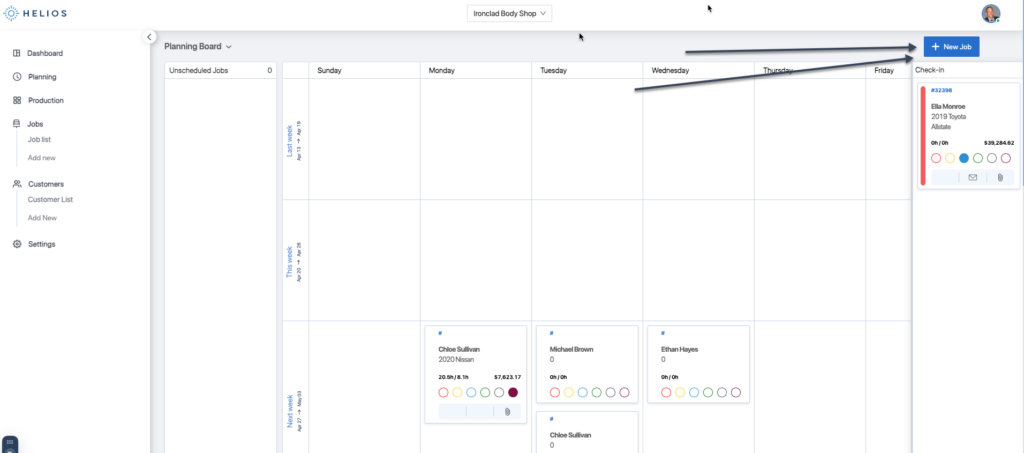
The Planning Board is your go-to tool for scheduling upcoming jobs before they enter production. It allows you to allocate time slots, assign technicians, and visualize your daily or weekly workload—all with a simple drag-and-drop interface.
Whether you’re planning a repair for tomorrow or coordinating your entire week, this guide will show you exactly how to schedule a job using the Planning Board.
Prerequisites
Before you begin, make sure:
- You have Admin or Manager permissions in Helios.
- The job you’re scheduling is either:
- Already created, or
- Ready to be added during the scheduling process.
Step-by-Step: How to Schedule a Job
1. Open the Planning Board
- Click Planning Board from the left-hand menu in your dashboard.
2. Choose a Time Slot
- Navigate to the appropriate day or week view.
- Click on the time slot where you’d like to schedule the job.
📆 You can also drag a job to reschedule later.
3. Select or Create a Job
You’ll now have two options:
➤ Option A: Select an Existing Job
- Choose a job from your list of unscheduled jobs.
➤ Option B: Create a New Job
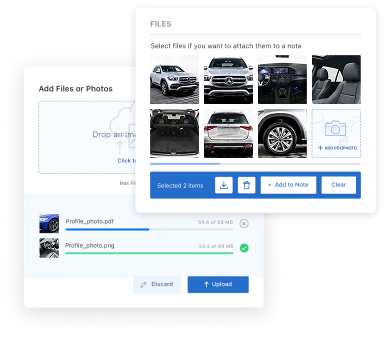
- Click + Add New Job
- Fill in the job details:
- Customer name
- Vehicle make/model/year
- Job type (e.g., Insurance, Walk-in, Internal)
- Additional notes (optional)
📌 You can always update or add more info later.
4. Assign a Technician
From the dropdown, select the technician or team who will handle this job.
- You can assign multiple techs if needed.
- The job card will appear under their lane on the board.
5. Confirm and Save
- Double-check the job details and scheduled time.
- Click Schedule Job (or Save, depending on your view).
✅ The job is now officially placed on the Planning Board.
How to Edit or Reschedule a Job
Once a job is scheduled:
- Reschedule: Drag and drop the job to a new day or time.
- Edit: Click the job card to:
- Change the assigned technician
- Adjust job duration
- Update notes or job details
- Cancel or delete the job if necessary
📌 Changes are saved automatically and reflected across all devices.
Tips for Smart Scheduling
- Use color codes to visually separate job types (e.g., insurance, retail, internal).
- In week view, you’ll get a better sense of overall shop load.
- Keep track of technician capacity to prevent over-scheduling.
- Leave buffer time for parts delays or high-complexity repairs.
What Happens After Scheduling?
Once the job is ready to start:
- Drag it from the Planning Board into the first stage of the Production Board (e.g., “Tear Down” or “Estimate”).
- This makes the job visible to your full team in the active workflow.
- All updates sync in real-time across mobile, desktop, and in-shop displays.
Need Help?
- 💬 In-App Support: Click the Help icon at the bottom-right
- 📧 Email: support@heliospro.io
- 📚 Browse the Helios Support Center for more guides
Related Guides
- Understanding the Planning Board vs. Production Board
- How to Add and Track a Job
- Assigning Technicians to Jobs