Invite your team to Helios and control what each person can see or do with role-based permissions.
Overview
Helios allows you to add users to your account and assign specific roles to control access levels. This guide will show you how to add new users, assign them roles, and set permissions so your team can get started with Helios right away.
Prerequisites
- You must be an Admin or Owner to manage users.
- Ensure the user has a valid email address before inviting them to Helios.

Step-by-Step: How to Add a New User
- Go to the Users section
- In the top-right corner, click on Settings and then select Users from the menu.
- Click + Add User
- In the Users section, click the + Add User button to invite a new team member.
- Fill in User Details
- Full Name: Enter the user’s full name.
- Email Address: Enter the user’s email address. This is where the invitation will be sent.
- Role: Choose the role for this user (more on roles below).
- Permission Level: Select whether the user should have View, Edit, or Admin access.
- Click Send Invite
- Once the details are filled in, click Send Invite. The user will receive an email with setup instructions.
Understanding Roles & Permissions
Here are the different roles available in Helios and their associated permissions:
| Role | Description | Default Permissions |
| Owner | Full access to everything, including billing and users. | Can manage all settings, billing, and permissions |
| Admin | Can manage users, jobs, and shop settings. | Can manage all users, settings, and job boards |
| Manager | Can assign jobs and update job status. | Can assign jobs, view all boards, update job statuses |
| Estimator | Can create and edit jobs, add job notes and photos. | Can view and edit jobs, add photos and notes |
| Technician | Can view assigned jobs, update status, and upload photos. | Can view and update job status, upload photos |
📌 Note: Admins can customize these permissions further for flexibility.

How to Edit or Remove a User
- Go to Users
- Navigate to Settings > Users to view the full list of team members.
- Edit User Details
- To make changes to a user, click the Edit icon next to their name. You can:
- Change their role (e.g., move someone from Technician to Estimator).
- Adjust their permissions (View, Edit, Admin).
- Remove user access by deactivating their account.
- To make changes to a user, click the Edit icon next to their name. You can:
- Resend Invite
- If the user did not receive their invitation email, you can resend it by clicking Resend Invite next to their name.
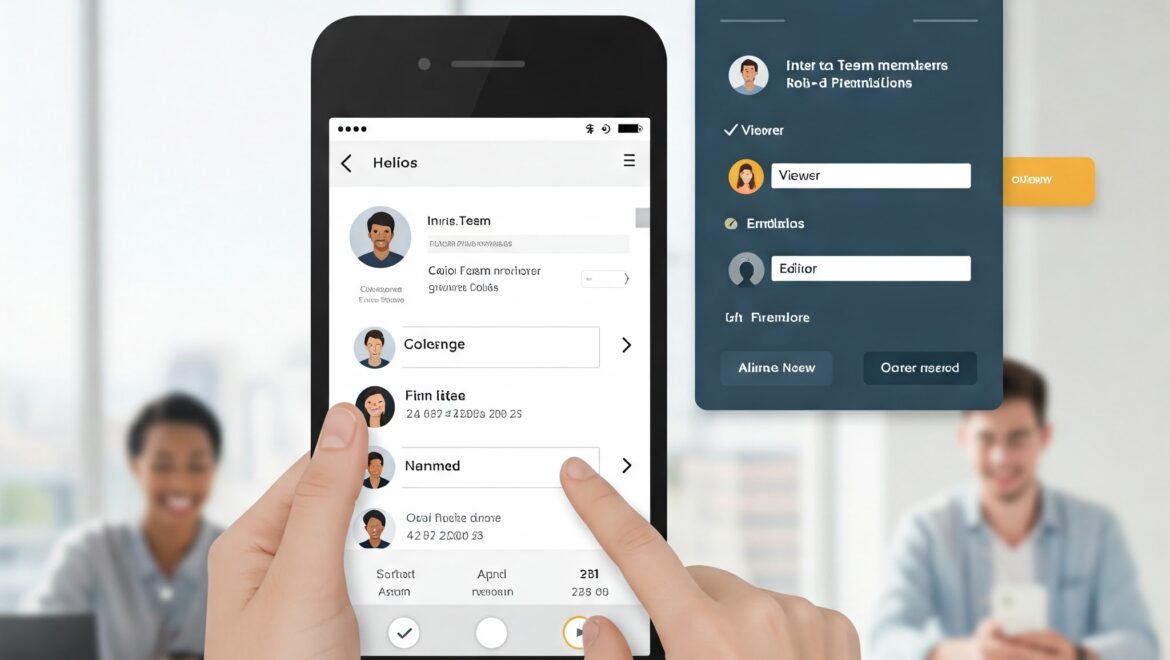
Mobile User Access
Once a user is added, they can log into Helios on both desktop and mobile using the same credentials. Permissions are the same across both platforms, so whatever access is granted on desktop will apply to the mobile app as well.
Security Best Practices
- Limit Admin access: Only give Admin access to trusted users who need full control over settings and user management.
- Unique logins: Always use individual logins for users instead of sharing credentials to ensure data security.
- Remove access: Immediately remove or deactivate a user’s account when they leave your team or no longer need access.
Need Help?
If you encounter any issues or need further assistance with adding users or setting permissions:
- Email Support: support@heliospro.io
- In-App Help: Use the Help icon in the bottom-right corner of your dashboard for instant support.
Related Guides:
- How to Set Up User Roles in Helios
- Understanding Permissions for Teams
- Managing Job Assignments and Workflows